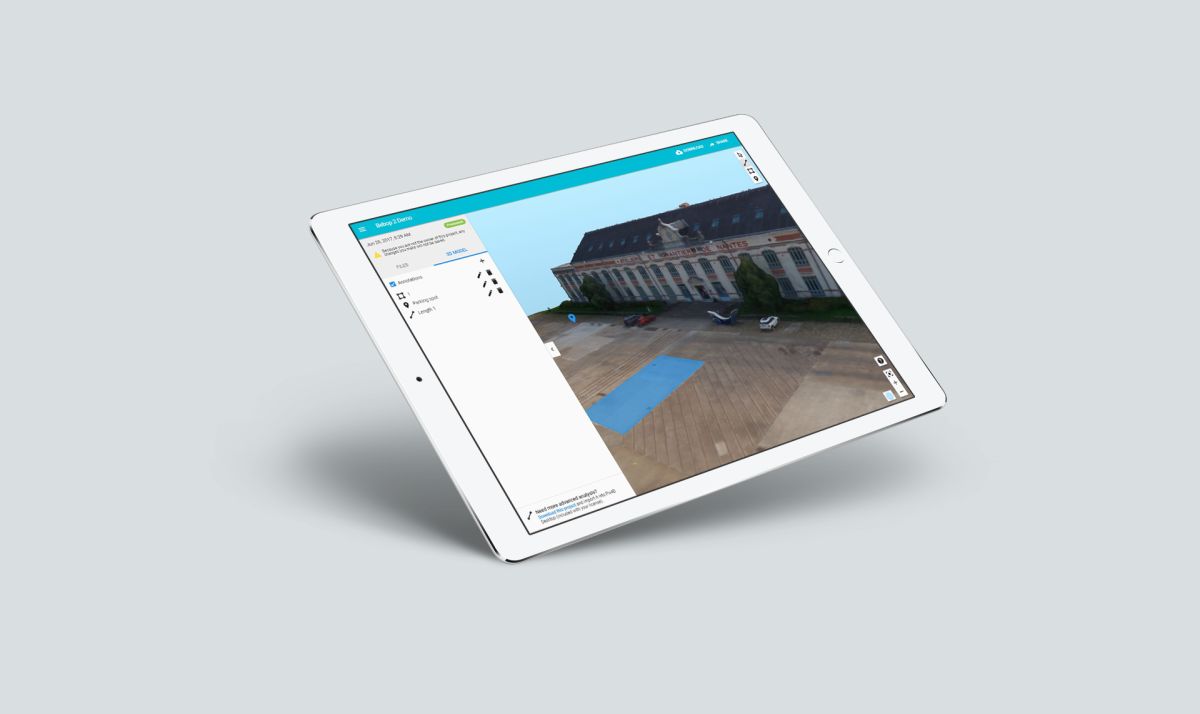
Our cloud platform just got refreshed!
Now you can change the background color to enhance the visualization of your project when navigating, the zoom focuses into your point of interest, and adding annotations and measurements became even more intuitive.
What's new?
To get familiar with the cloud platform, let’s have a look at one of our demo projects.
Navigate your project
- To pan, use your left mouse button
- To grab, hold “Shift” and use your left mouse button
- To zoom, use the scroll wheel. The zoom focuses into your mouse cursor location.
- To rotate, use the right mouse button
Adding annotations to your project
You can add markers, measure distances and areas.
- Click the “Add Marker” tool, to pinpoint an element you want to highlight and give it a name or description.
- Click the “Measure Distance” tool, and define the first point with a click, add one or more points and close your line with a click on the checkmark or hit the “Enter” button. Then you can name this annotation.
- Click the “Measure Area” tool, and define the first point with a click, add two or more points and close your polygon with a click on the checkmark or hit the “Enter” button. Then you can name this annotation.
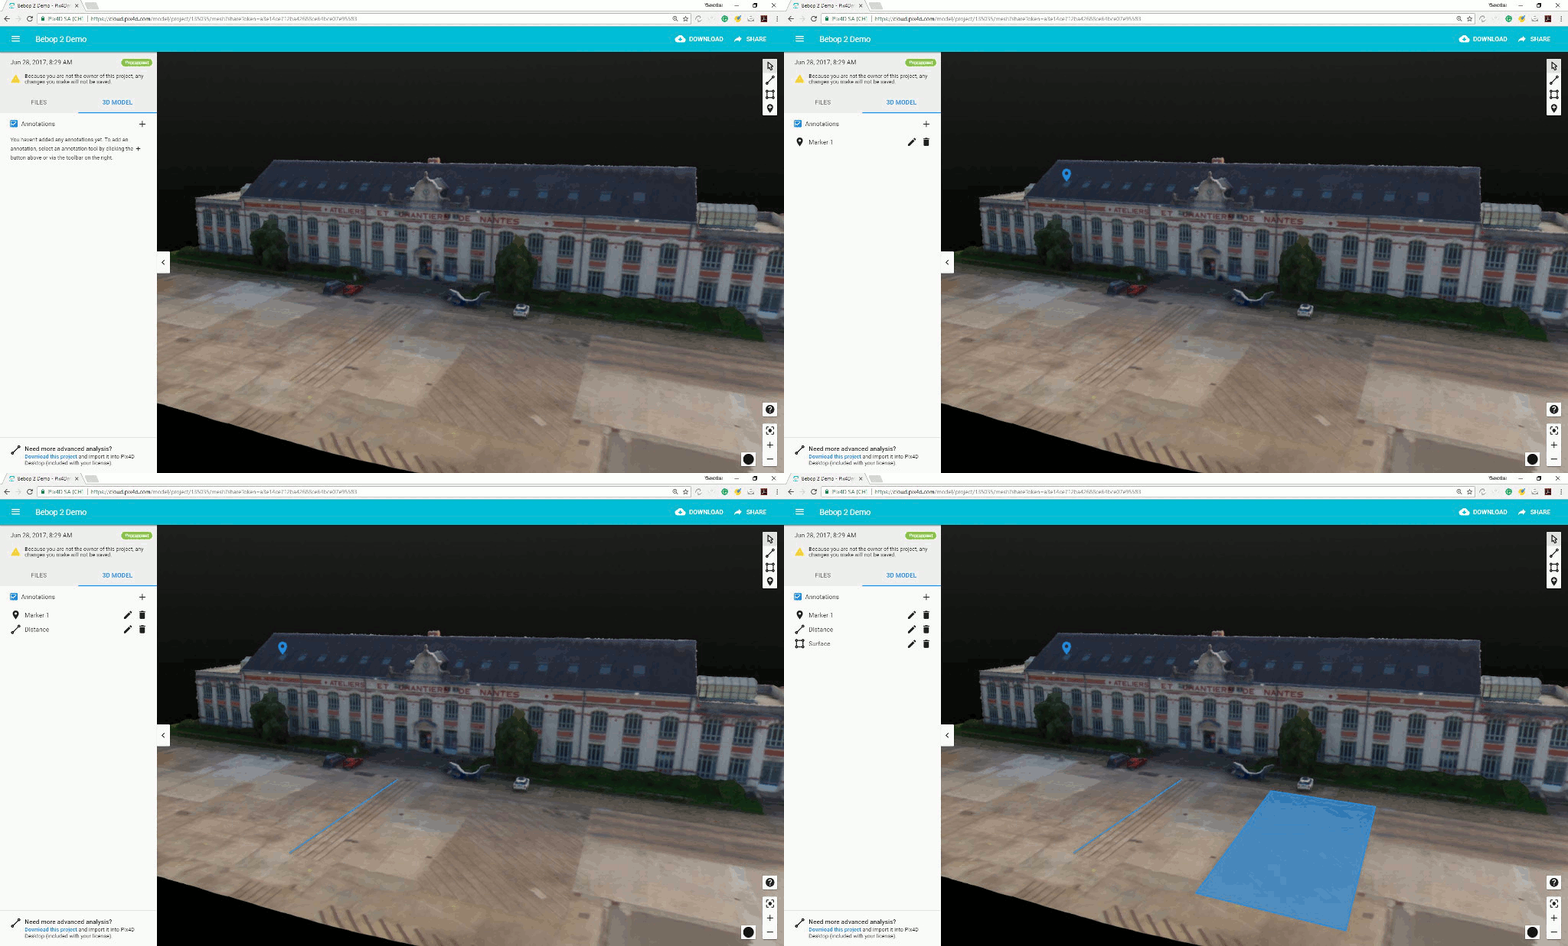
Select and modify annotations
After you added annotations to your 3D model, you can easily modify them. Click on on the “Select and Modify” tool, then you can rename it and add or move nodes.
Using the annotation list on the left dashboard, you can explore your model navigating through your annotations, and add, rename or delete markers and measurements.
Change the background color
Customize and enhance the way your project is displayed. You can choose the background color that better suits the specific features of your project.
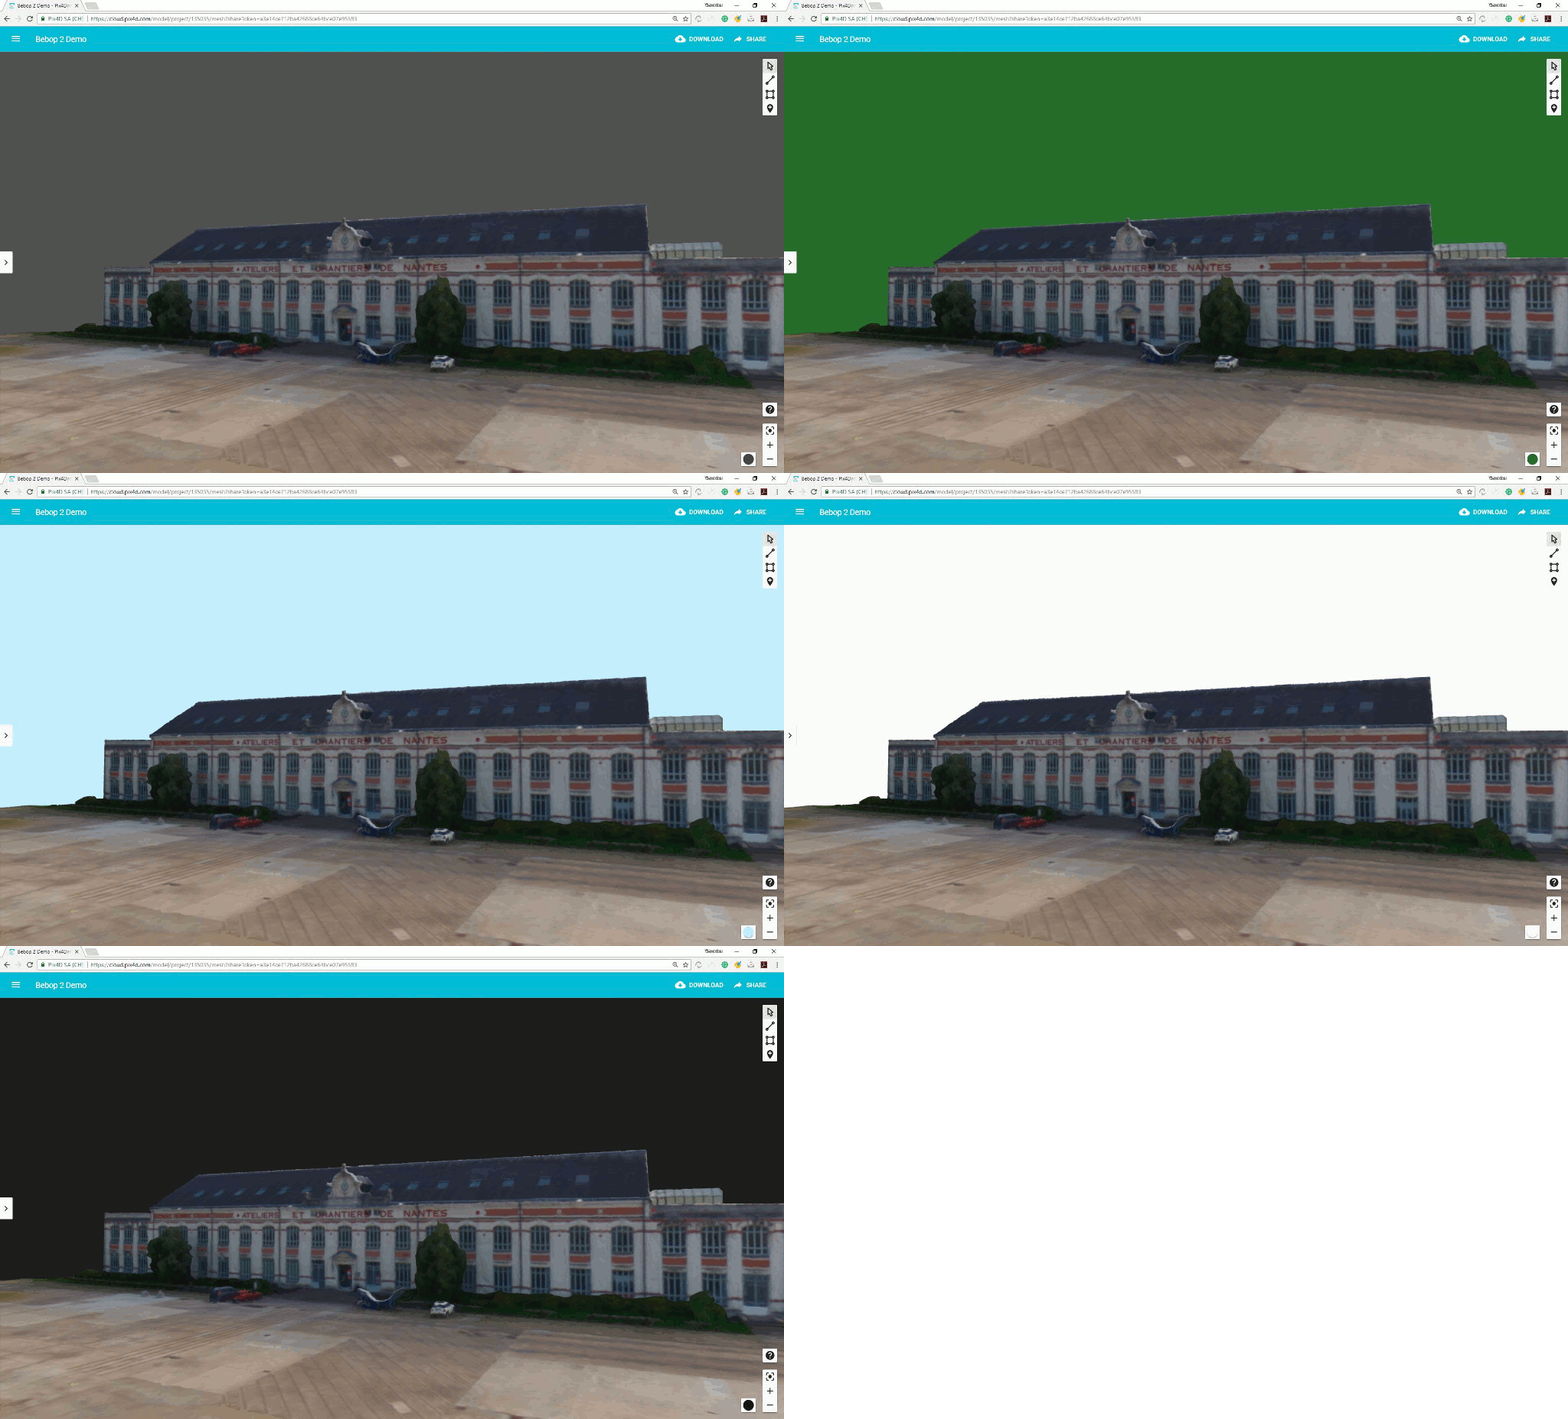
Share your project
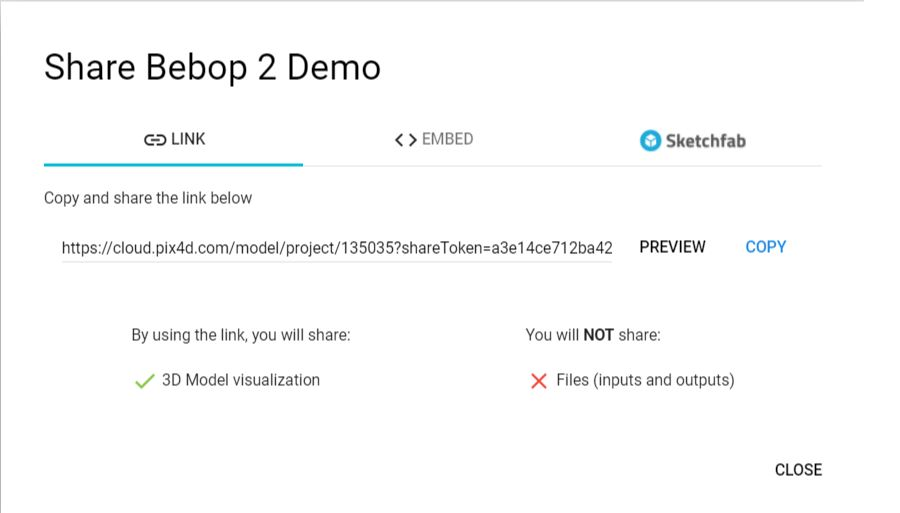
After you added annotations and pick your favorite background color, you can share the project using a link.
You can also embed your model in your website, or upload it to Sketchfab for 3D & VR visualization.
“The biggest challenge of selling photogrammetry services is not really creating the most amazing datasets, is having the right platform to share them, to bring them to the final client, and to make them usable by them.” Blayne Jackson, Excell Aerial CEO
Create your project on the cloud the way it suits you best!
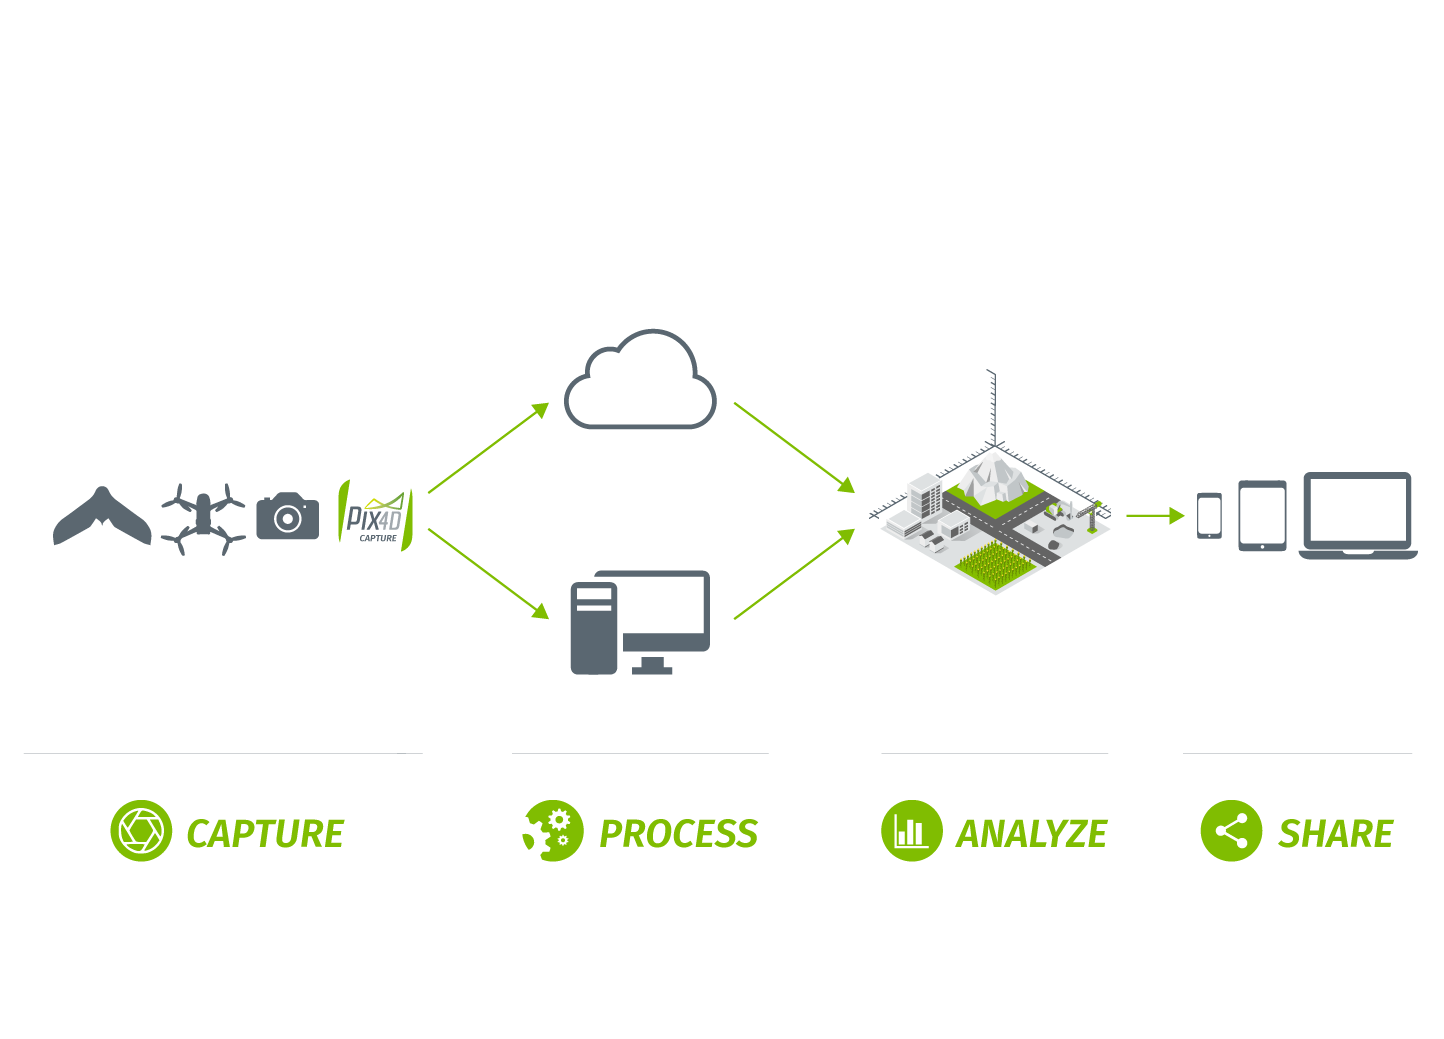
Pix4D software offers you a complete and flexible workflow, including flight planning and image acquisition, desktop and cloud processing, and a collaborative online platform to share your projects with your team and clients.
From Pix4Dcapture
If you are using Pix4Dcapture on your mobile, you can synchronize and upload the mission to the cloud. Processing will start automatically.
Find out how on Android or iOS devices.
Create a project from the cloud platform
You can upload images to the cloud platform and create a project automatically using the predefined processing template.
Learn how to create a project on the cloud.
Upload your project from a desktop device
To have more control over your processing, you can create your project on your desktop computer, define custom processing settings, limit your processing area, adjust the orientation and scale, and upload your project for processing.
