How to create 3D models of objects using photogrammetry
| First published | December 17, 2017 |
| Updated | June 10, 2020 |
High-quality 3D reconstructions of objects are used in a broad variety of fields, from cultural preservation, documenting museum pieces, reverse engineering of pieces of equipment to 3D asset creation for cinematics, game development, AR and VR experiences.
To demonstrate the versatility of Pix4Dmapper photogrammetry software, bringing its already known, accurate, and high-quality photorealistic results on large scale projects to a small-object scale, we asked Vaireco GmbH to bring in their expertise in object modeling.
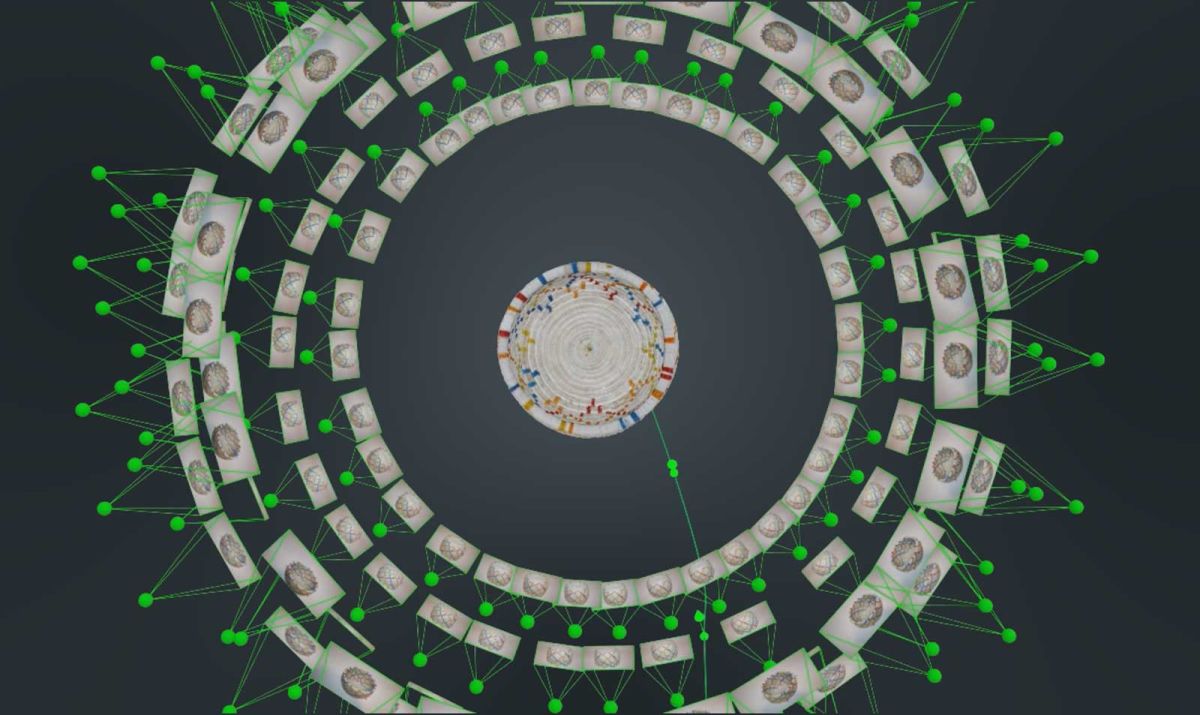
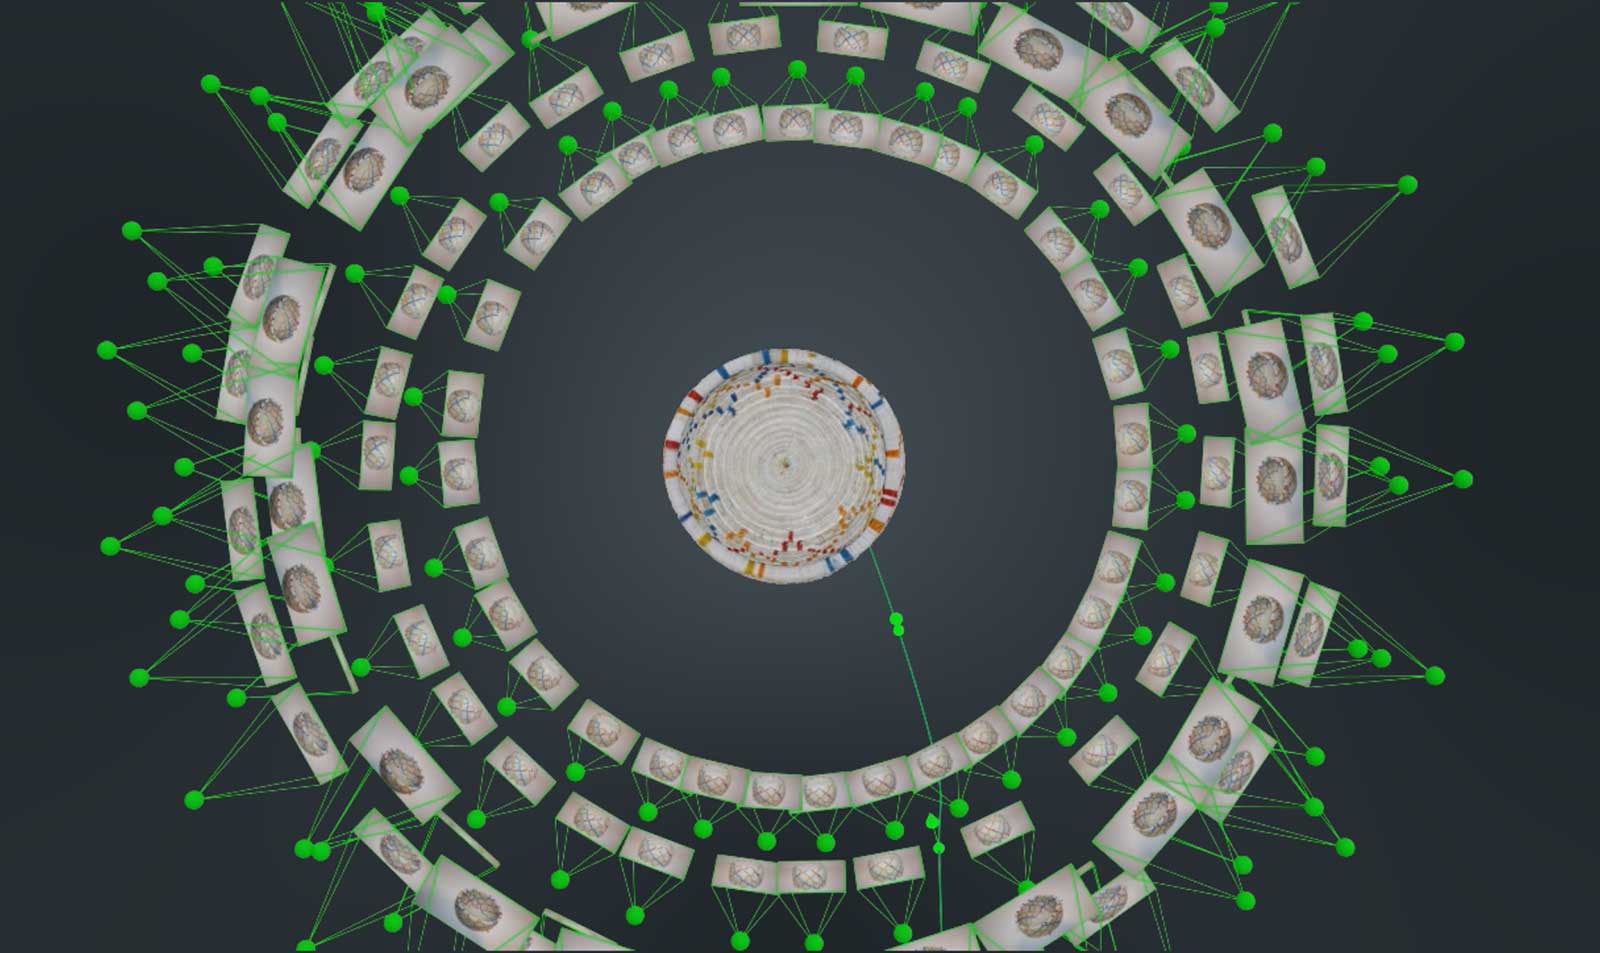
Vaireco wanted to test Pix4D software’s capabilities to model small objects. In this case, they modeled a handmade basket from Uganda. The main objective was to create a detailed 3D model of the object including every surface in a single model.
Project details
| Company | Vaireco GmbH |
| Project Date | November 2017 |
| Project Manager | Ken Varner |
| Number of Images | 138 |
| Device | Canon EOS 400D |
| Focal Length | 35 mm (fixed) |
| Processing Software | Pix4Dmapper photogrammetry software |
Capture the object with the right images
First, we knew we needed to capture every surface of the object in multiple images. We needed a 720 degree image capture strategy. The challenge is part of the object is always resting on a surface and is therefore covered up and unable to be photographed. In order to photograph all the object’s surfaces and features, the object must be flipped or rolled over and moved.

Secondly, we knew we needed to photograph the object in a neutral environment. Everything not relevant to the object itself–such as features around and behind the object–must not appear in the images.
Pix4Dmapper photogrammetry software will reconstruct every feature present in the image set. In this case, the only way to acquire images of each surface requires moving the object to obtain various perspectives of the object. It is, therefore, necessary to blank out the background around the object by placing the object in a space with no features that could be picked up as automatic tie points.
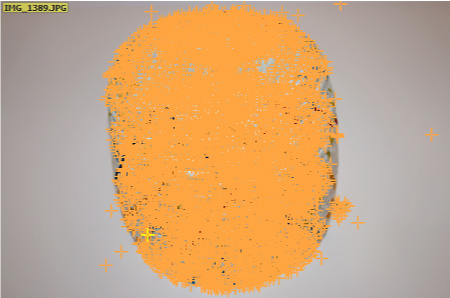
For this example, we placed the object on a white matte poster board and placed a matte white sheet behind the object. This featureless background avoids the generation of automatic tie points, which would confuse the software since our object is photographed and moved at various angles within a static background. We used the camera’s flash to eliminate background shadows.
Merge multiple projects
Another very important aspect of small object modeling is merging multiple projects within Pix4D photogrammetry software.
Merging is almost always necessary because images of each side of an object are usually processed separately at first and then the individual projects are merged before point cloud generation.
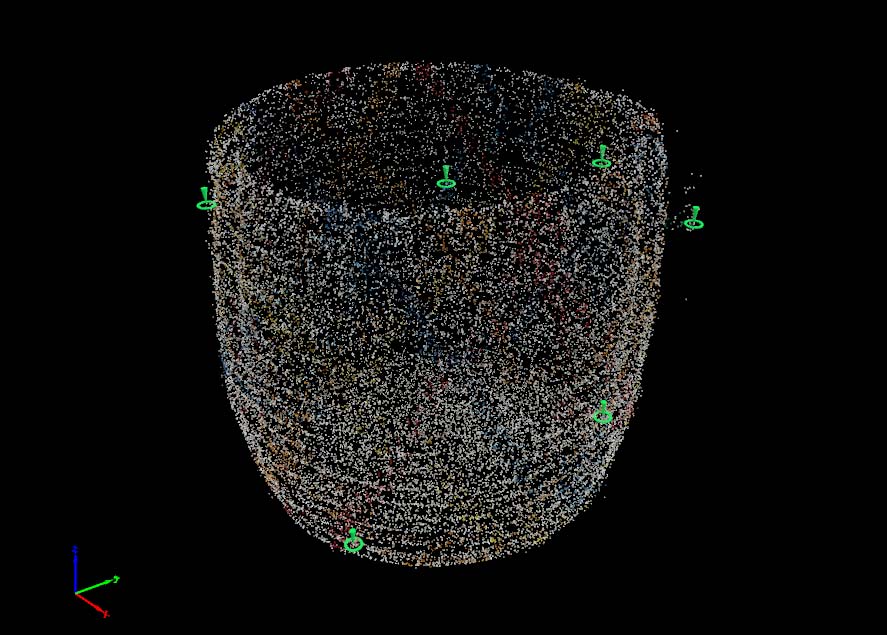
Using common Manual Tie Points facilitates the merging of multiple projects into one. In this case, we photographed the basket upright for a dataset around the object and then flipped it over to capture the hidden bottom.
Publish and share your 3D models
It is possible to export the final edited model in a number of formats for display on diverse 3D, VR and AR visualization platforms. You can also import it into 3D animation software or game engines. Pix4Dmapper photogrammetry software also allows you to create video animations.
This photogrammetry-based 3D modeling workflow accelerates the 3D asset creation process in a broad variety of industries, ranging from cultural heritage and industrial design to gaming, entertainment and educational AR and VR experiences.
